Assessment settings
Look up what each assessment setting controls and what your students will see. Use this reference while you prepare a task, especially when you choose deadlines, writing rules and timed instructions.
Open the settings and their help
From Your Assessments, select New Assessment, then Timed written assessment. A timed draft exposes the timer settings as well as the settings for untimed work. Enter a recognisable task name in Assessment name; students will see it in their works list.
Changes save automatically. Students see nothing until you share the assessment.
Select the information button beside a field's label to open Tell me more. Read the panel, then select Close before opening the next field's help. The sections below follow the fields in their screen order. Use Setup, Writing policy and Instructions in the step bar to move between them.
Setup
Open each field's help on Setup to read its explanation. An asterisk marks a required field.
- Assessment name: students see this in their works list and at the top of their work. You see it on Your Assessments. You cannot publish two assessments with the same name, topic and class.
- Topic (optional): appears under the name in students' works lists and above the title on your assessment page. Use it to distinguish similar assessments.
- Class name (optional): appears in the same places as the topic. Use it when you give the same task to several classes.
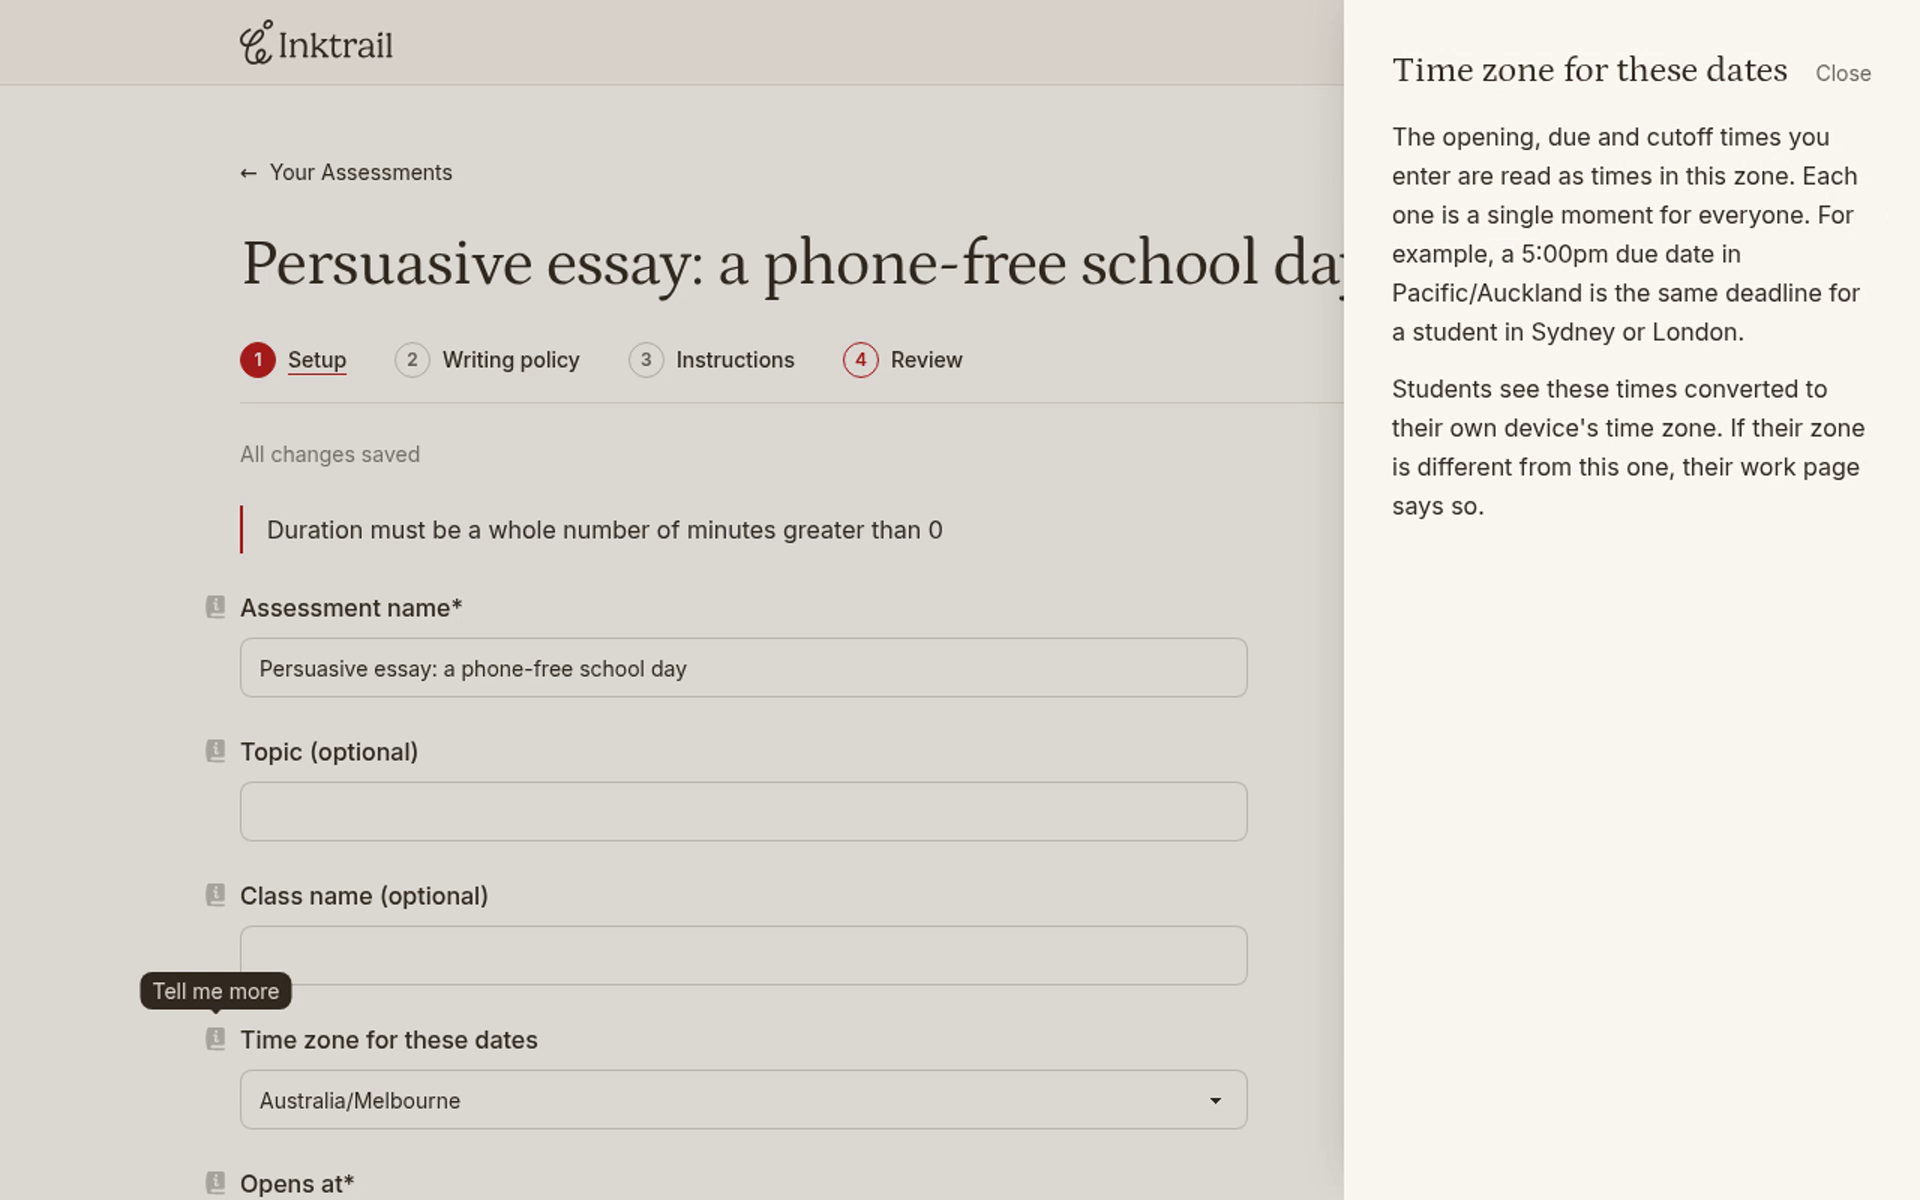
- Time zone for these dates: the opening, due and cutoff times are interpreted in this zone. Each deadline is one moment for everyone. Students see it converted to their device's zone; their work page notes when their zone differs.
- Opens at: students cannot start writing before this time. Entering the code early adds the assessment to their list as Not started, with its opening date. This does not start a timed attempt's timer.
- Due at: submissions after this time are marked late, and both you and the student see how late. If late work is not allowed, writing closes and saved work becomes read-only. Untimed work that was never submitted stays unsubmitted; Inktrail does not submit it automatically.
Timing
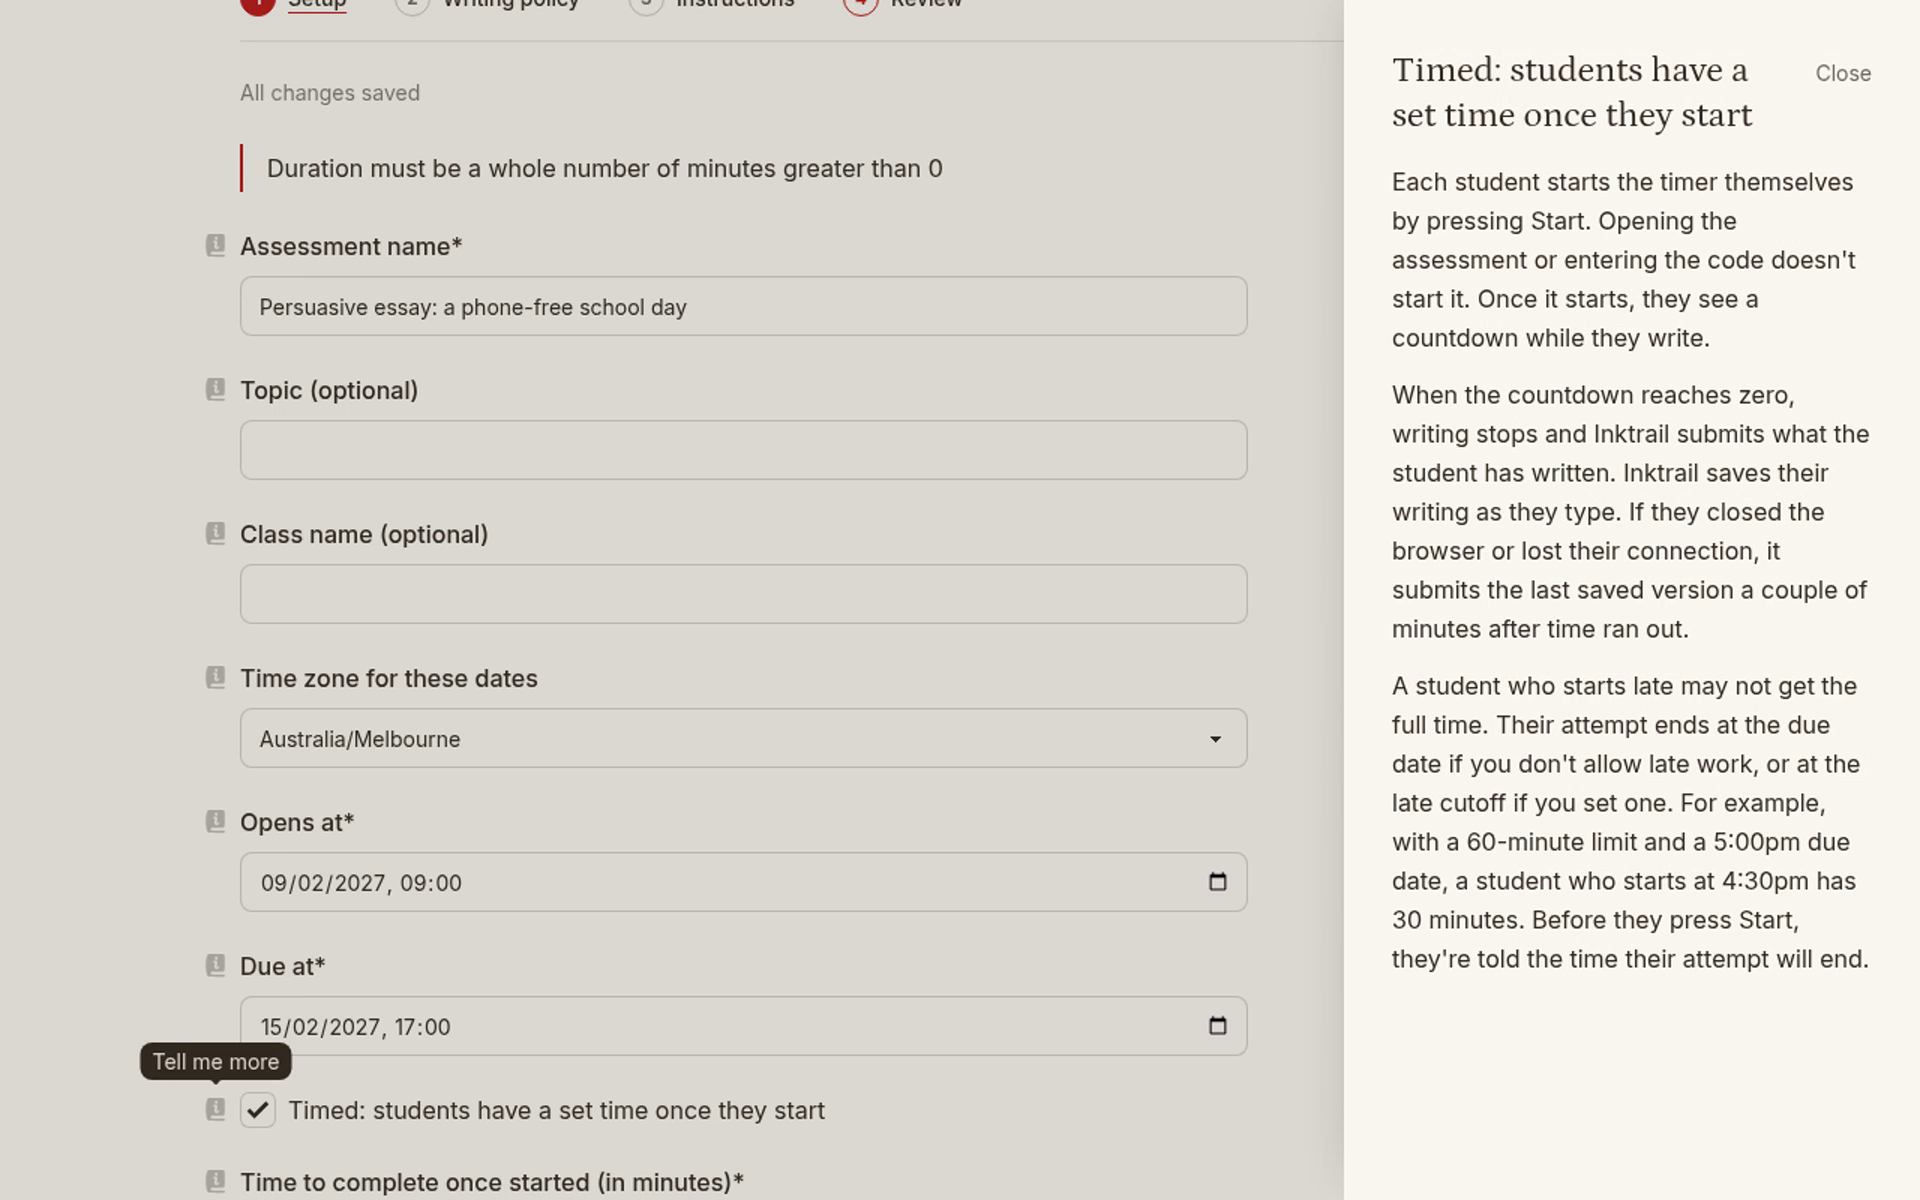
- Timed: students have a set time once they start: each student starts their own timer by pressing Start, not by opening the assessment or entering its code. They see a countdown while writing. At zero, writing stops and Inktrail submits their work. If the browser is closed or the connection is lost, it submits the last saved version a couple of minutes after time runs out.
- Time to complete once started (in minutes): appears while timing is on. Each student gets this duration unless the due date or late cutoff comes first. You cannot give an individual student extra time. Before starting, students are told when their attempt will end.
With late work disallowed, the due date can shorten a timed attempt. With late work allowed and a cutoff set, the cutoff can shorten it. For example, a student starting a 60-minute attempt half an hour before a hard deadline gets only half an hour.
Writing policy
Select Writing policy in the step bar. Open the help beside each label below.
- Set word count targets: shows students their word count beside your target range. These are guides, not submission limits; students can submit below or above the range.
- Word count target minimum: the lower end of the range must be at least 100. In-text citations count as words; the reference list at the end does not.
- Word count target maximum: must be at least the minimum. Students can still submit over it; you see the length when reviewing.
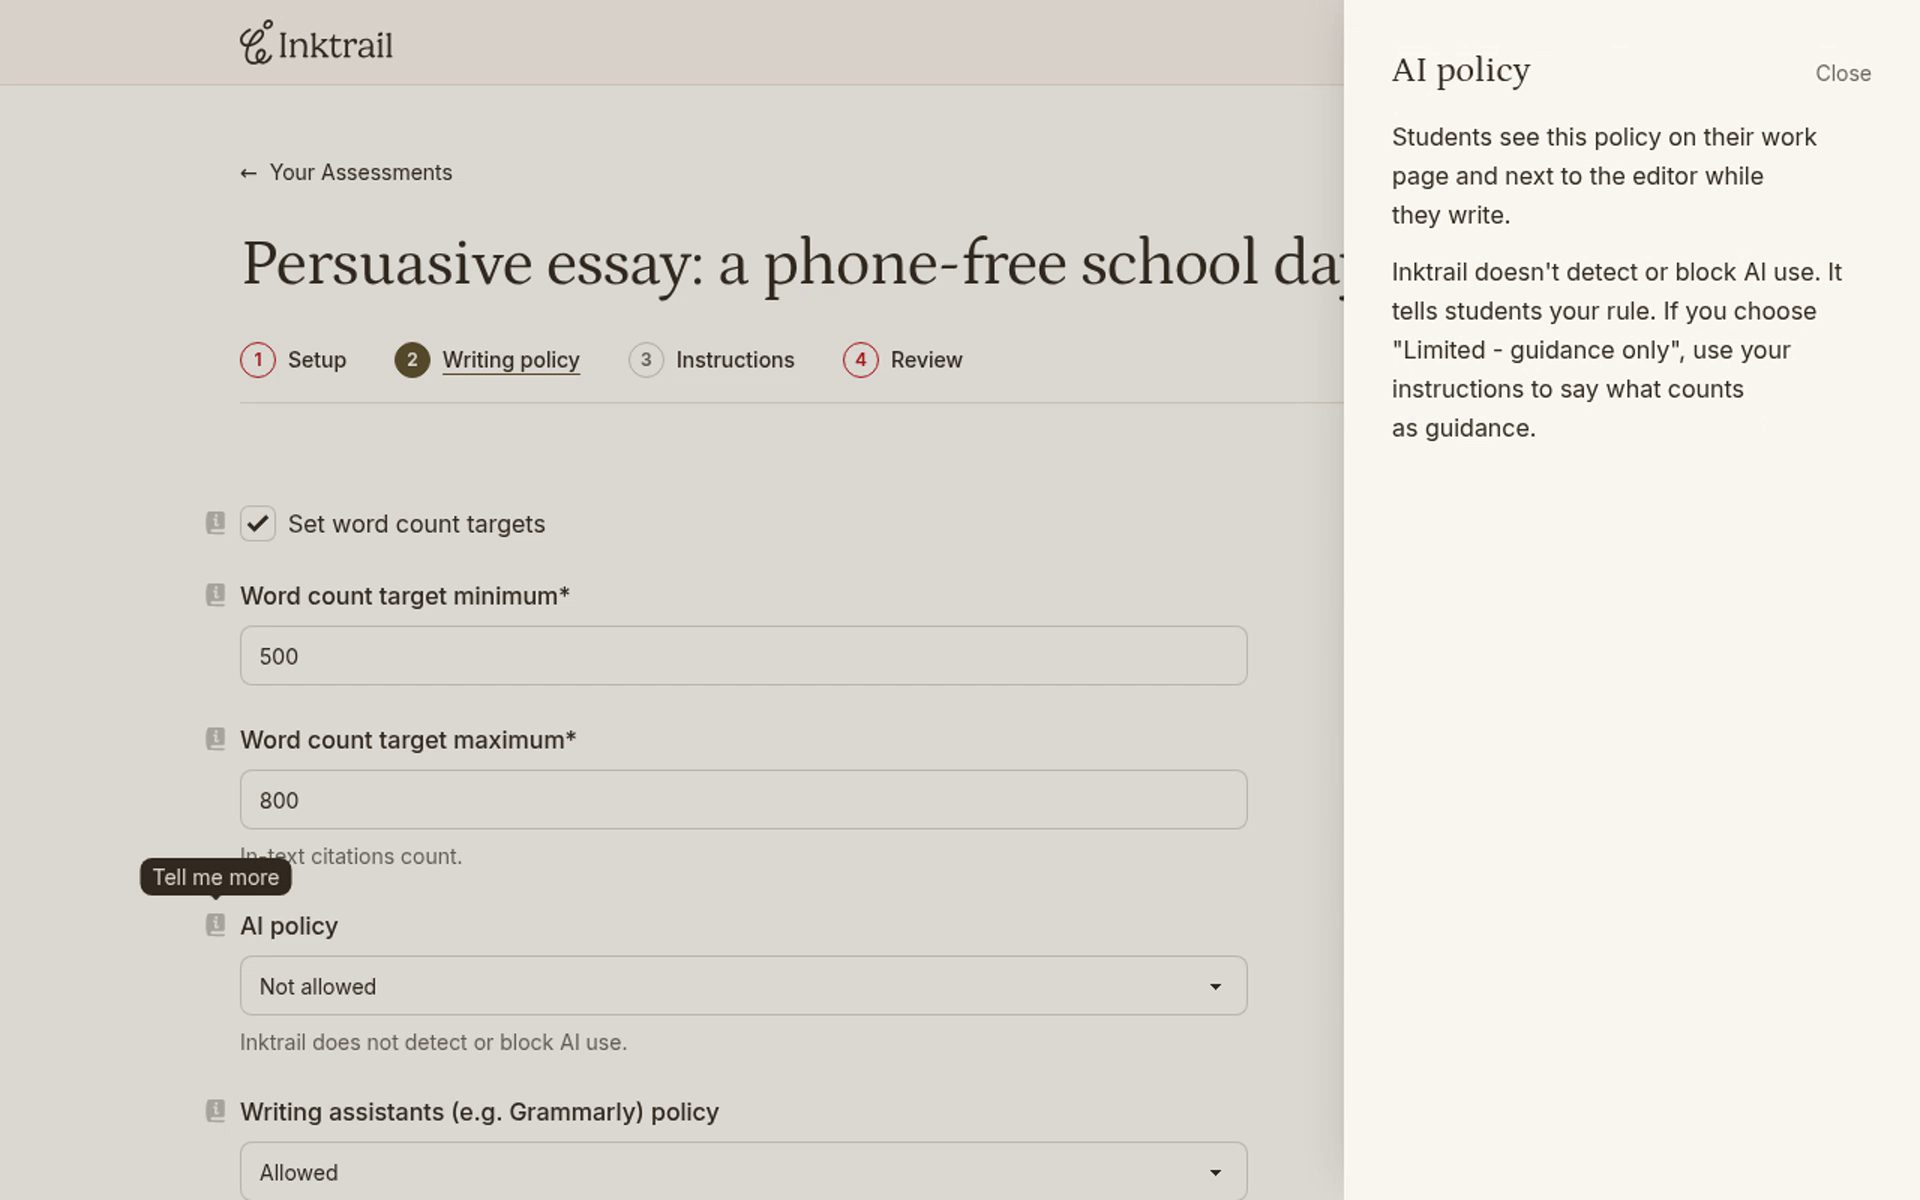
- AI policy: choose Allowed, Limited - guidance only or Not allowed. Students see your rule on their work page and beside the editor. Inktrail does not detect or block AI use. For guidance-only use, explain what counts as guidance in your instructions.
- Writing assistants (e.g. Grammarly) policy: students see this beside the editor. Not allowed makes a best effort to block Grammarly and similar tools and turns off browser spell check. It is not a guarantee: tools or determined students can bypass it.
- Citation requirement (optional): tells students which sources and referencing style you expect. It appears on their work page and beside the editor. Inktrail does not check compliance.
Late submissions and penalties
The example draft starts with Allowed with penalty, so its penalty and cutoff fields are visible. Read their help in this order.
- Late submission policy: Not allowed closes writing at the due date and prevents later submission. Allowed with penalty permits writing and submission after the due date, up to a cutoff if you set one. Late submissions show their lateness and your stated penalty.
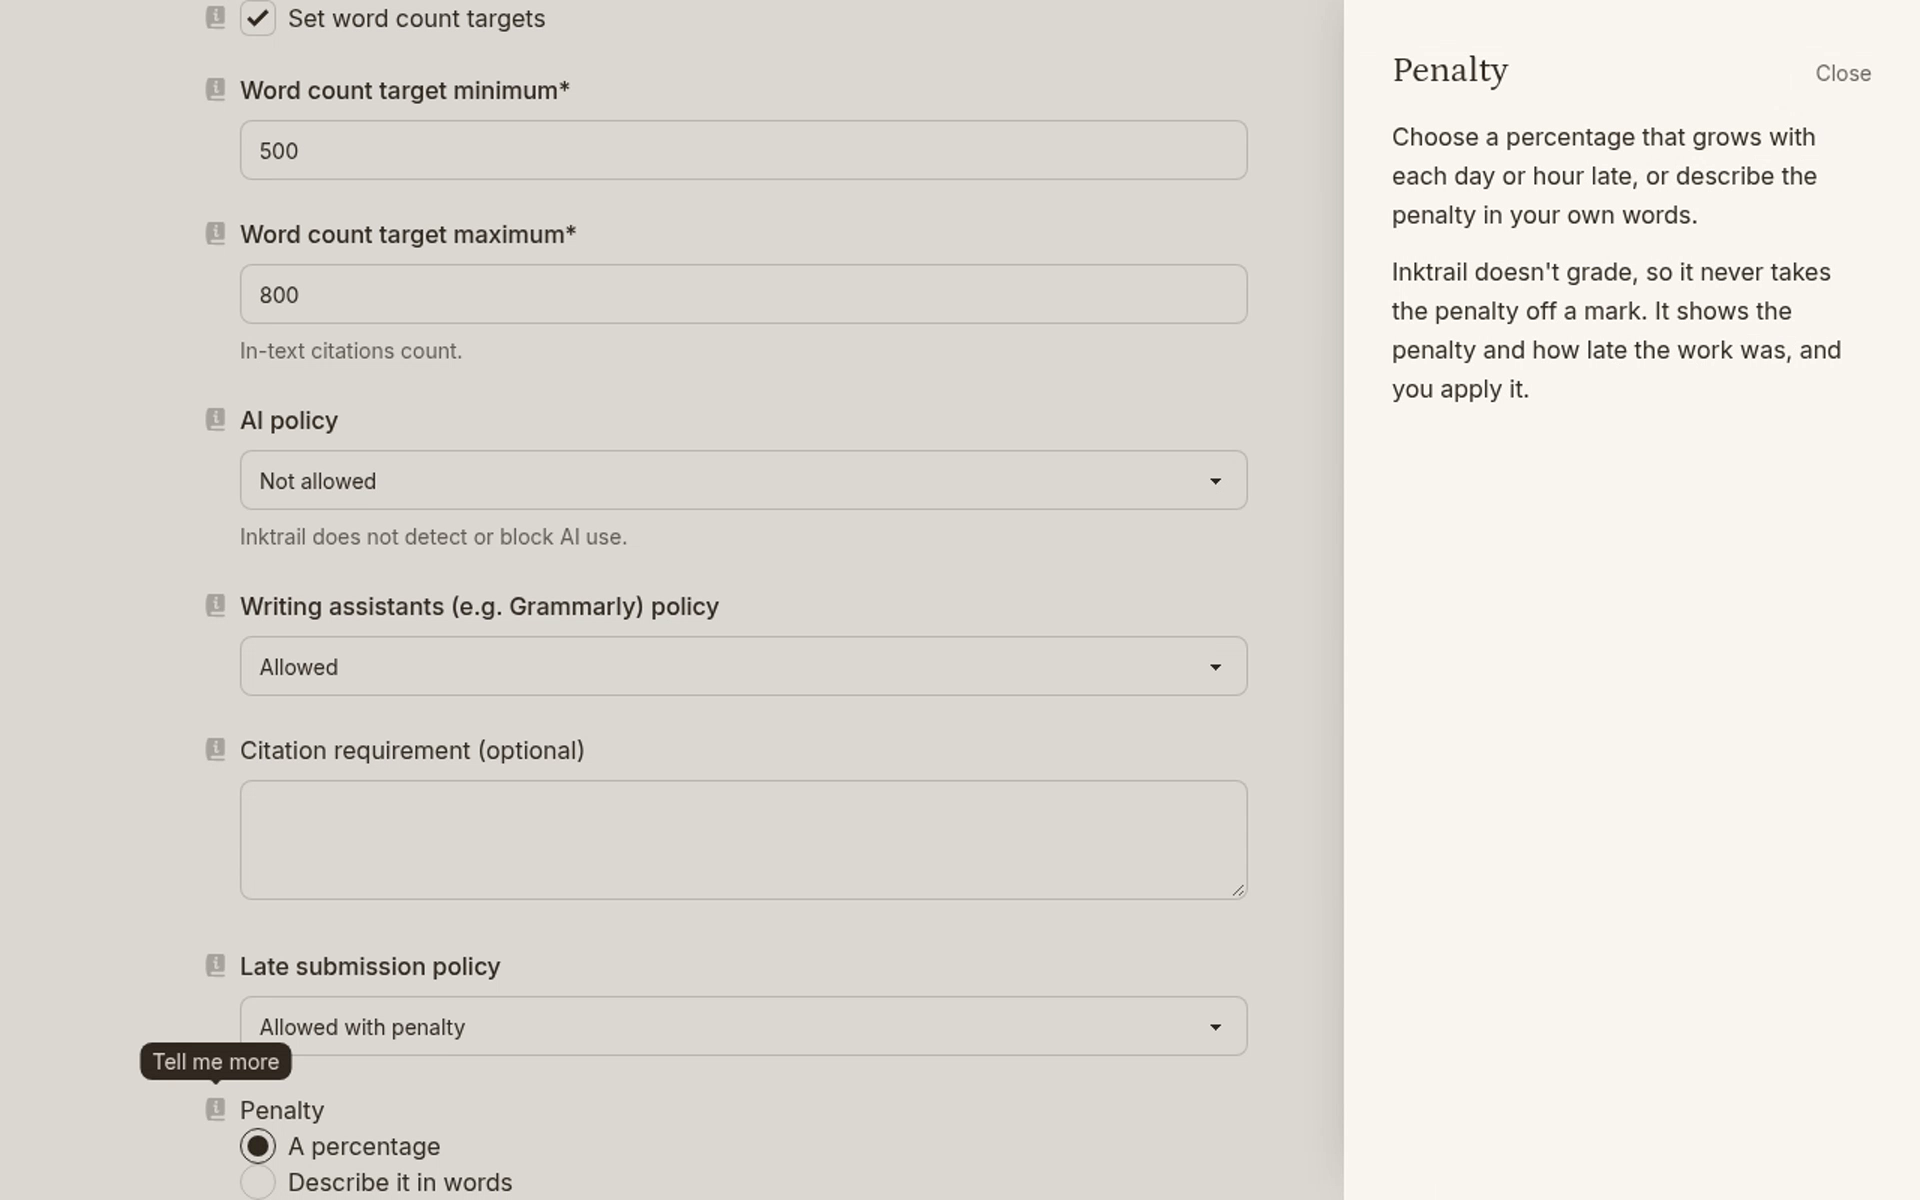
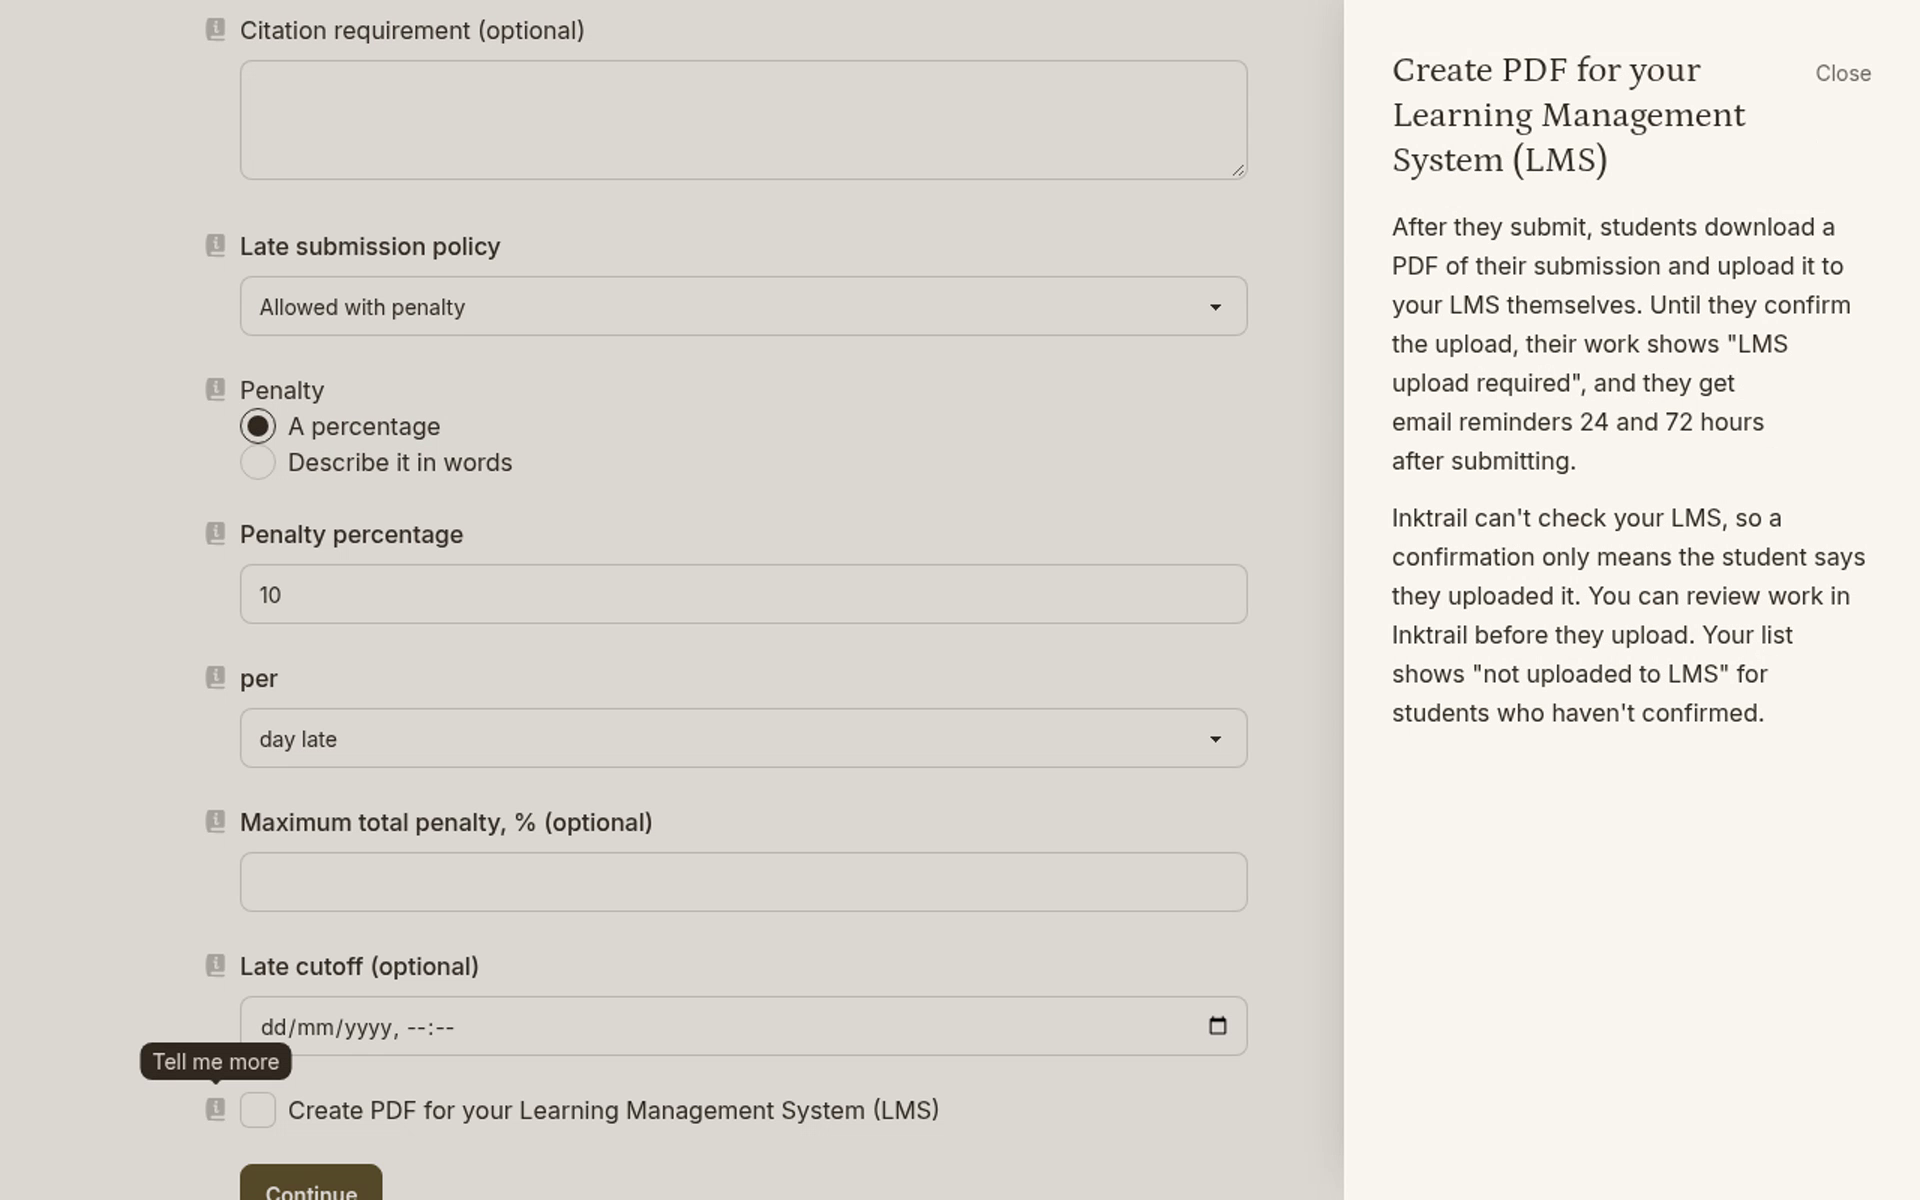
- Penalty: choose A percentage for a penalty per day or hour late, or Describe it in words for your own policy. Inktrail does not grade or subtract marks. It shows the penalty and lateness; you apply the penalty yourself.
- Penalty percentage: the amount you take off per late day or hour, shown to students, for example, as “10% per day”.
- per: selects day late or hour late.
- Maximum total penalty, % (optional): caps the deduction, however late the work is. It must be at least the penalty percentage. Empty means no cap.
- Late cutoff (optional): after this moment students cannot start, write or submit. Saved work becomes read-only. Empty means late work can be accepted at any time after the due date. A timed attempt starting near the cutoff receives less time.
LMS PDF
Under Advanced, read the help beside Create PDF for your Learning Management System (LMS). After submitting, students download a PDF and upload it to your LMS themselves. Until they confirm, their work shows LMS upload required, with email reminders at 24 and 72 hours after submission.
Inktrail cannot check your LMS. Confirmation means only that the student says they uploaded it. You can review before upload; your list identifies students who have not confirmed as not uploaded to LMS.
Written penalty
Close the LMS help. Select Describe it in words under Penalty, then open the help beside Penalty policy. This field replaces the percentage controls. Students see your text on their work page and beside a late submission.
Instructions
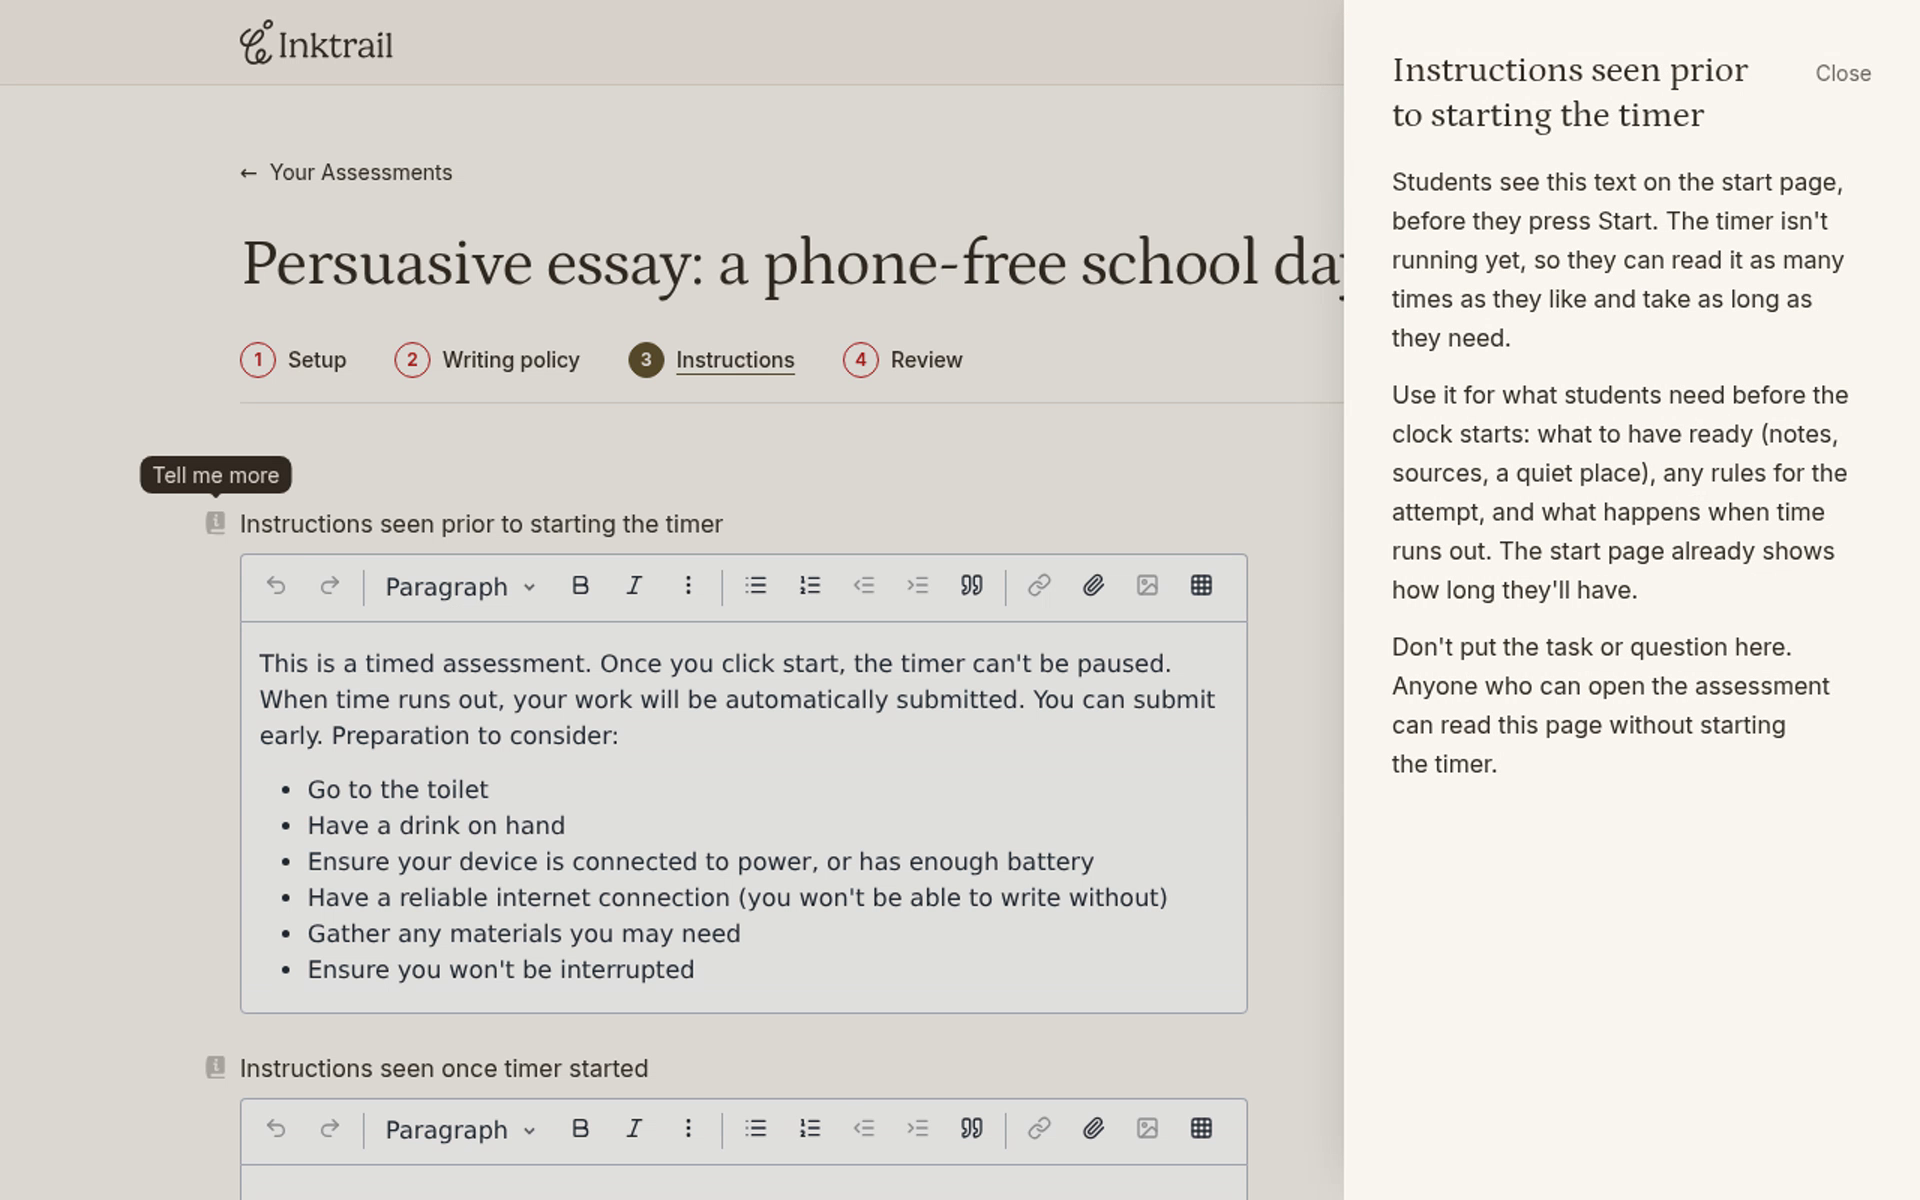
Select Instructions in the step bar and read the help for both timed instruction fields.
- Instructions seen prior to starting the timer: students see these on the start page and can read them without starting. Use them for preparation and attempt rules, not the task or question. Anyone who can open the assessment can read them before starting. The page already shows the available time.
- Instructions seen once timer started: students see these only after pressing Start, then in the editor while writing. Put the task or question here. A student who has started can still pass the question to one who has not. If that matters, keep the opening-to-due window short so students start close together.
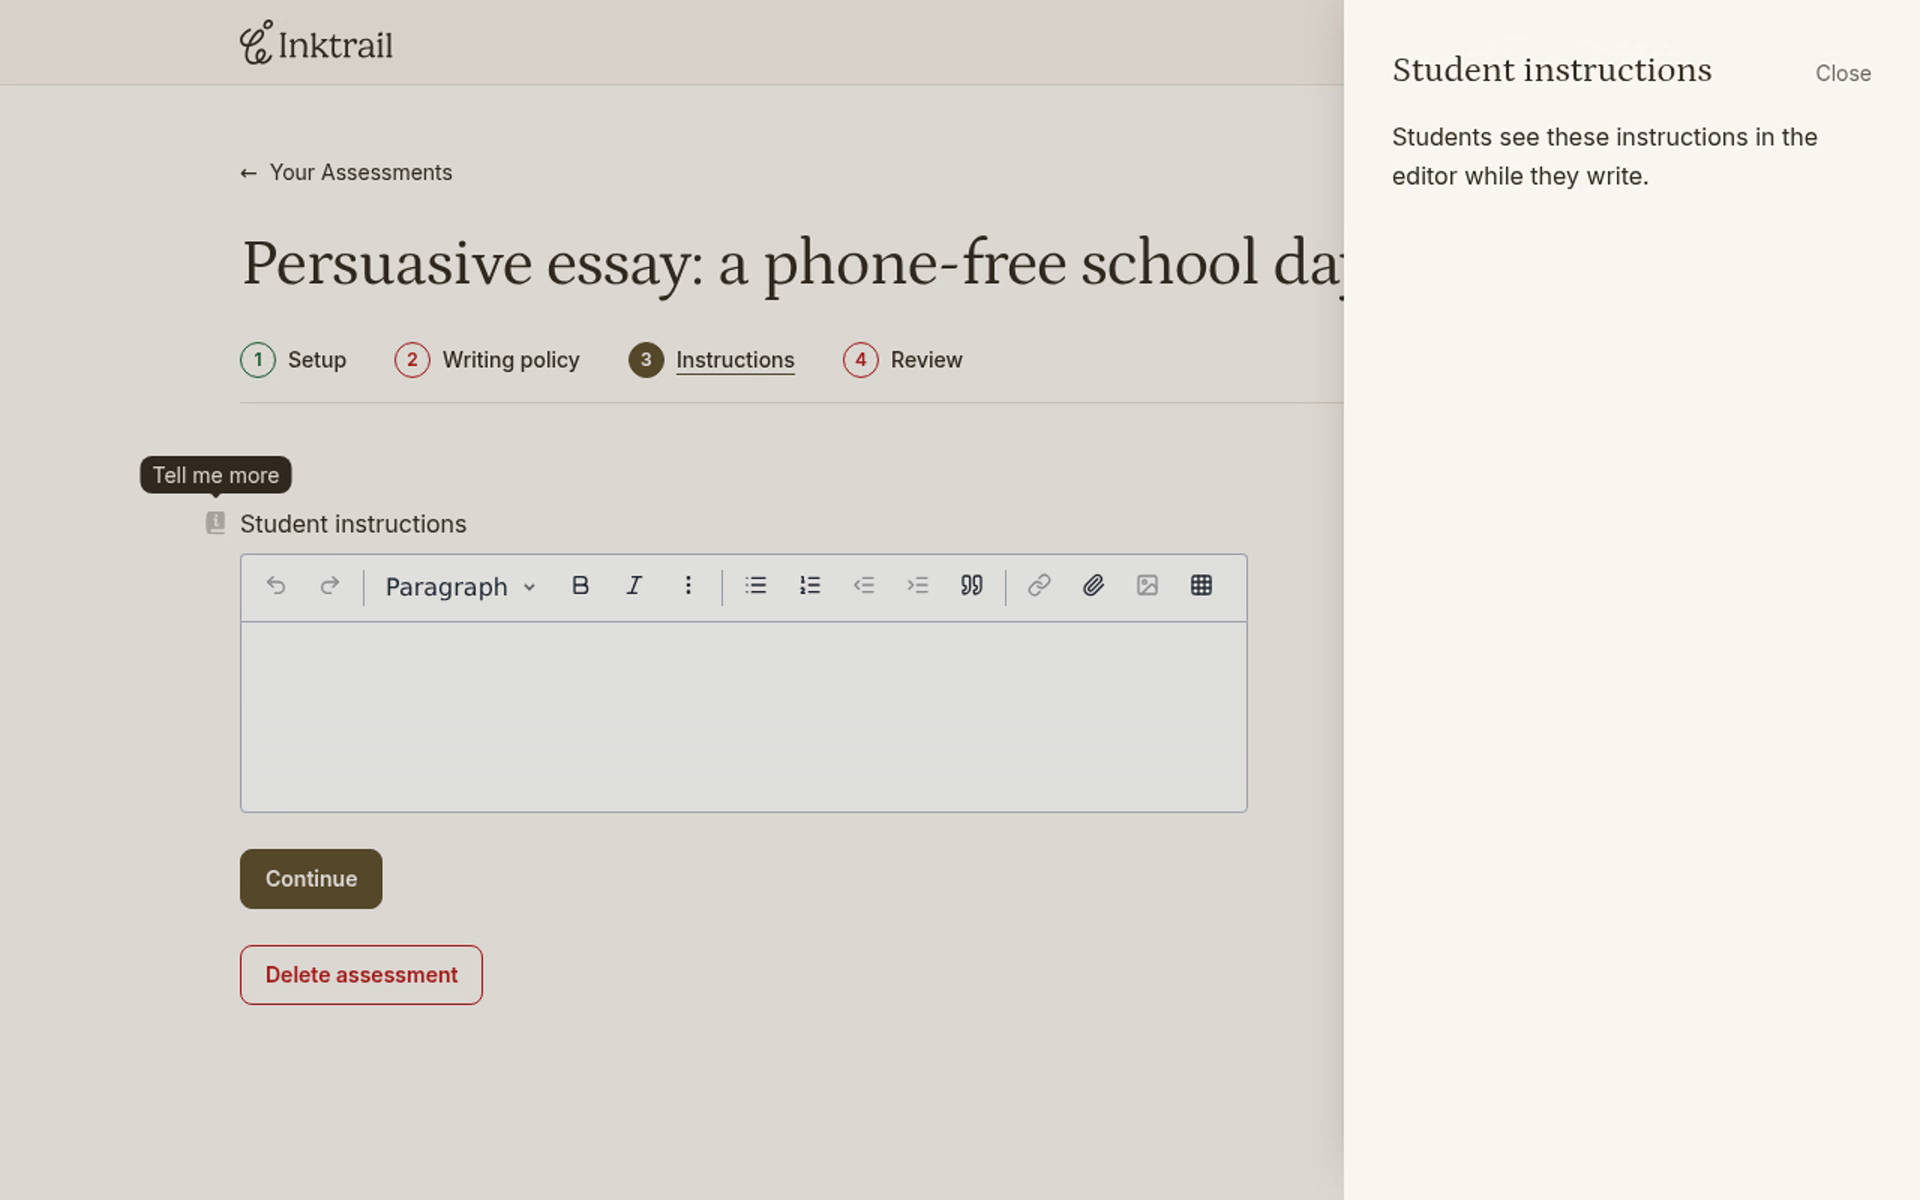
To see the untimed version, close help, return to Setup and clear Timed: students have a set time once they start. Return to Instructions and open Tell me more beside Student instructions. Students see these instructions in the editor while writing. Close help when finished. The example remains an unshared draft.